 |
| First chance to use the my router |
Today I spent a few hours working on my form blocks. It is kind of daunting for me because this is what is setting the stage for the whole wing. I want to make sure I get it right. I went and got a 1/8" round over bit for putting a radius on the edges. I have read several peoples build logs where they have hand sanded the edges.
 |
| 1/8" roundover bit in router |
 |
| Sanding the edge after routing it |
 |
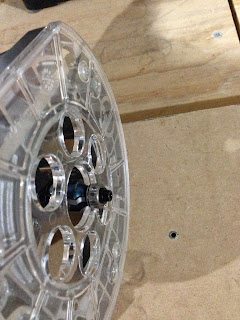
| Pre-radius on the right and post-radius on the left |
I didn't feel confident in my ability to do that so I went the router route. It was my first time to get to use my router since I got it at Christmas. It worked perfectly. Once I went around the edges with the router I went over them by hand with some fine grit sandpaper to smooth it out even more.
I ordered my edge marking tool from Avery tools to mark the flanges. There is a way outlined in the Beartracks book that says to use a 1/4" thick circle or washer with a 1/4" hole in it. I may give that a shot until the edge marker comes in.
 |
| Master form block copy of master and backup block |
In the meantime I am going to keep going over the plans.


